Used Claude.ai to help me choose a template for my Hugo site. Hugo is a static site generator. My prompt:
Help me pick a theme for my personal site running Hugo.
- Actively maintained
- Accommodates blog posts that can have text, images, YouTube videos embedded.
- Responsive layout and typography Nice to have: a gallery layout. Bonus points if it can integrate with Flickr.
Claude recommended Stack, which I agreed with, based on some extensive theme evaluation I had done the previous week.
Hugo Stack—This is my top pick for you. It’s actively maintained (last updated January 2026), has 6,200+ GitHub stars, and includes PhotoSwipe integration for galleries with lightbox functionality. The card-style layout works beautifully for blog posts with mixed media, supports lazy-loading images, has dark mode, and handles YouTube embeds well. The responsive typography is clean and modern.
The Stack theme, self-described as “Card-style Hugo theme designed for bloggers,” doesn’t use the typical Hugo quickstart process for adding a theme to an existing repo using git submodule add.... Since this site is brand new, I was okay with starting from scratch.
The Stack theme repo lives at GitHub: CaiJimmy/hugo-theme-stack. The Quickstart process, using the template at CaiJimmy/hugo-theme-stack-starter, assumes you are starting a brand new site.
- It uses Hugo modules feature to load the theme. This means that the theme is downloaded to Hugo’s cache directory and isn’t visible in your repo. Contrast that with the
git submoduleapproach for adding a theme which adds theme code to the themes directory and is managed withgit submodulecommands. (This was a new concept for me.) Hugo modules are managed withhugo modcommands, which requires Go. - It comes with a basic theme structure and configuration.
- A GitHub action (.github/workflows/deploy.yml) has been set up to deploy the theme to a public GitHub page automatically.
- Also, there’s a cron job to update the theme automatically everyday.
Goal
Create new Hugo site based on CaiJimmy/hugo-theme-stack-starter template and deploy with GitHub Pages.
Notes
The default branch on CaiJimmy/hugo-theme-stack-starter is master and I want to change that to main. That will mean a few extra steps.
Local development vs. cloud editing
I watched the video tutorial at CaiJimmy/hugo-theme-stack-starter. This demonstrates using GitHub’s Codespaces cloud editor. I decided to use a local development workflow since I am comfortable with that. Going the local development route means I’ll need the following dependencies installed on my Mac:
- Git (I’ve already installed this with Command Line Tools, and set up my public key with GitHub.)
- Hugo (I already installed this with
brew install hugo) - Go (Required by this project, I installed it globally with
brew install go)
Steps
If you want to use GitHub Codespaces, follow the steps at CaiJimmy/hugo-theme-stack-starter.
To set up the site for local development, I did the following steps:
On GitHub
- On CaiJimmy/hugo-theme-stack-starter, in the upper right corner, click Use this template > Create new repository.
- Name the repo
<username>.github.ioand click Create this repository (or whatever the submit button is called)
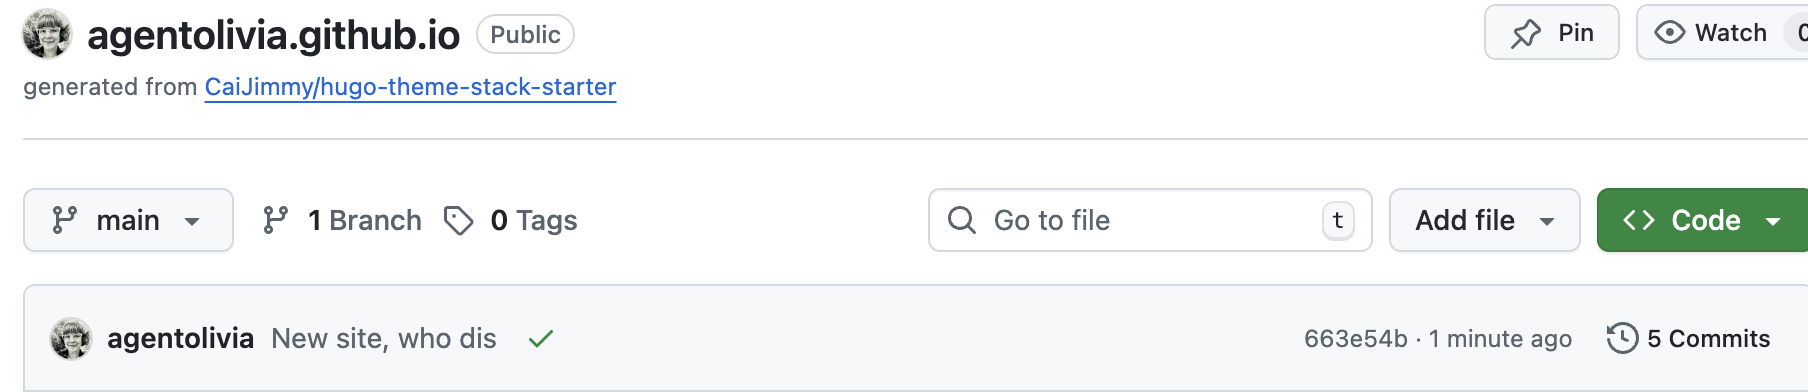
To make deployment to GitHub Pages a snap, I named my repo,
agentolivia.github.io, whereagentoliviais my GitHub username. If you use a different repo name, the site will be deployed to sub-directory of<username>.github.io. Fun facts.
On my Mac, in a Terminal window
cd ~/Sitesgit clone git@github.com:<username>/<username>.github.io.gitcd <username>.github.iogit submodule update --init --recursive
Change the master branch to main
git branch -m master maingit push -u origin main
Back on GitHub
- On the repo page, click Settings
- Under Settings: Default branch > Switch (arrows icon) >
main
Back on Mac, in Terminal window
git push origin --delete master
What we have right now is a broken build which will be fixed by updating .github/workflows/deploy.yml.
Edit deploy.yml
In code editor of choice, open for editing .github/workflows/deploy.yml
Side quest: Install GitHub Actions plugin on VS Code, which popped up when I opened the file in VS Code.
Update the list of branches to match the new default branch,
main.1 2 3 4 5 6name: Build and deploy on: push: branches: - main ...Update environment constants to match local.
I noticed that when I checked out the versions I had locally installed, they were a bit different than what was listed in deploy.yml.
1 2 3 4 5 6 7 8 9 10 11# hugo hugo version hugo v0.155.3+extended+withdeploy darwin/arm64 BuildDate=2026-02-08T16:40:42Z VendorInfo=Homebrew # go go version go version go1.25.7 darwin/arm64 # node node --version v24.12.0Under
jobs.build.env, update the version to match the output.1 2 3 4 5 6 7 8 9jobs: build: runs-on: ubuntu-latest env: DART_SASS_VERSION: 1.97.1 GO_VERSION: 1.25.7 HUGO_VERSION: 0.155.3 NODE_VERSION: 24.12.0 TZ: America/Los_AngelesSave file and
git add .github/workflows/deploy.ymlCommit: `git commit -m “Update deploy.yml”
Push to repo to see deployment in action:
git push
Switch to GitHub to see deployment in action
- Click on the yellow dot next to the latest commit message, then Details to watch the build!
View live site
- Visit GitHub pages site. For me this is at https://agentolivia.github.io.
- It should be live with the starter template’s demo content.
I’m now ready to customize the site, unpublish the default content, and add some new posts. (Hey, this is one of them, so I succeeded!)